Overview of magento.app.yaml file in Adobe Commerce Cloud

In Adobe Commerce, formerly known as Magento, the magento.app.yaml file is a crucial component for configuring the environment and defining settings specific to your Adobe Commerce instance. This file is part of the Magento Cloud infrastructure, designed to streamline deployment and management processes.

Here’s a breakdown of what you might find in a typical magento.app.yaml file:

  1. Environment Configuration: The file allows you to define different configurations for various environments such as production, staging, and development. Each environment can have its own set of settings like cache configurations, logging levels, etc.
  2. Services: It specifies the services required for your Adobe Commerce application. These services could include databases, caches, search engines, etc. Each service is configured with its own set of parameters like version, type, and settings.
  3. Routes: You can define custom routes for your application. This includes specifying which URL patterns should be routed to which services or controllers within your application. This allows for URL rewriting and mapping to specific functionality within your Adobe Commerce instance.
  4. Hooks and Build Processes: The magento.app.yaml file also allows you to define hooks and build processes that should be executed during deployment. This could include tasks like compiling static assets, running database migrations, or clearing caches.
  5. Environment Variables: You can specify environment variables that should be available to your Adobe Commerce application. This is useful for configuring sensitive information like API keys, database credentials, etc., without hardcoding them into your codebase.
  6. Application Configuration: Finally, you can specify various application-level configurations such as cron job settings, session storage options, and more.

Here’s a simple example of what a magento.app.yaml file might look like:

#Application name
name: magento

#php version
type: php:7.4

# The size of the persistent disk of the application (in MB).
disk: 2048

hooks:
    # We run build hooks before your application has been packaged.
    build:
        set -e
        php ./vendor/bin/ece-tools build:generate
        php ./vendor/bin/ece-tools build:transfer

# The mounts that will be performed when the package is deployed.
mounts:
  "/pub/media": "shared:files/media"
  "/var/log": "shared:files/log"

variables:
  env:
    PAYMENT_BROKER_DOMAIN: "payment-broker.xyzservice.com"

services:
  mysql:
    type: mysql:10.4
    disk: 2048

In this example:

  • It specifies the PHP version to be used (php:7.4).
    • Set -e causes hooks to fail on the first failed command, instead of the final failed command for build phase
    • build:generate – applies patches, validates configuration, generates DI, and generates static content if SCD is enabled for build phase.
    • build:transfer – transfers generated code and static content to the final destination for build phase.
  • It mounts specific directories for media and log files.
  • It sets environment variables.
  • It configures a MySQL service.

The magento.app.yaml file serves as a central configuration point for your Adobe Commerce application, allowing you to easily manage and deploy your environment across different stages of development.

Spryker Commerce : my first impression

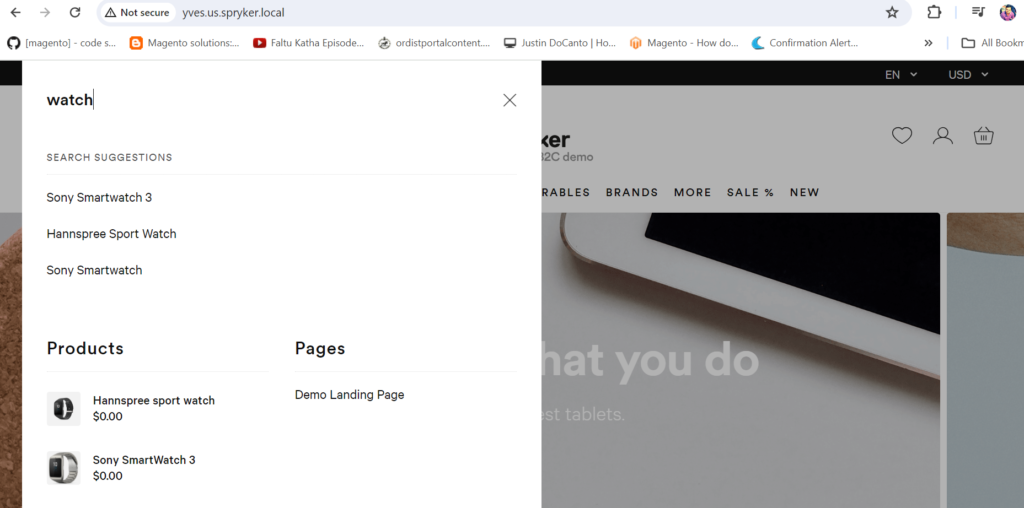
I checked this amazing commerce platform that uses Symfony framework and Elasticsearch as a search engine.

Search

I am referring to Spryker Commerce. Here are some interesting facts about it.

Frontend

Modular Architecture: Spryker follows a modular approach, allowing businesses to select and assemble the features and functionalities they need, thus avoiding unnecessary bloat and complexity.

Headless Commerce: Spryker is a headless commerce platform, meaning it separates the frontend presentation layer from the backend commerce logic. This enables businesses to deliver consistent and personalized customer experiences across various channels and devices.

Marketplace Capabilities: Spryker supports the creation of online marketplaces, allowing businesses to connect multiple sellers with customers on a single platform.

B2B and B2C Capabilities: Spryker caters to both B2B (business-to-business) and B2C (business-to-consumer) businesses, providing features tailored to the specific needs of each segment.

Scalability and Flexibility: The platform is designed to scale with businesses as they grow, offering flexibility to adapt to changing market conditions and customer demands.

API-First Approach: Spryker follows an API-first approach, providing well-documented APIs that enable seamless integration with third-party systems and services.

Extensive Ecosystem: Spryker has a vibrant ecosystem of partners and developers, offering a wide range of extensions, integrations, and support services to enhance the platform’s capabilities.

If you want to install it in local and try it out, please check the below link.

https://docs.spryker.com/docs/dg/dev/set-up-spryker-locally/install-spryker/install-spryker.html


Ways to create a admin user from command line Adobe Commerce

Adobe Commerce, formerly known as Magento Commerce, allows you to create an admin user from the command line using the bin/magento command-line interface. Here are the steps:

  1. Open a command prompt or terminal.
  2. Navigate to the root directory of your Adobe Commerce installation.
  3. Run the following command to create a new admin user
    Replace <username>, <password>, <email>, <firstname>, and <lastname> with the desired values for the new admin user.

    bin/magento admin:user:create --admin-user=<username> --admin-password=<password> --admin-email=<email> --admin-firstname=<firstname> --admin-lastname=<lastname>

    Example:

    bin/magento admin:user:create --admin-user=myadmin --admin-password=myadmin123 [email protected] --admin-firstname=John --admin-lastname=Doe
  4. Once the command has executed successfully, the new admin user will be created.


Create Admin User now:

Setup RabbitMQ on VM

In my earlier post I showed how to setup Magento on windows using virtual machine. This blog adds RabbitMQ sever on that installation.

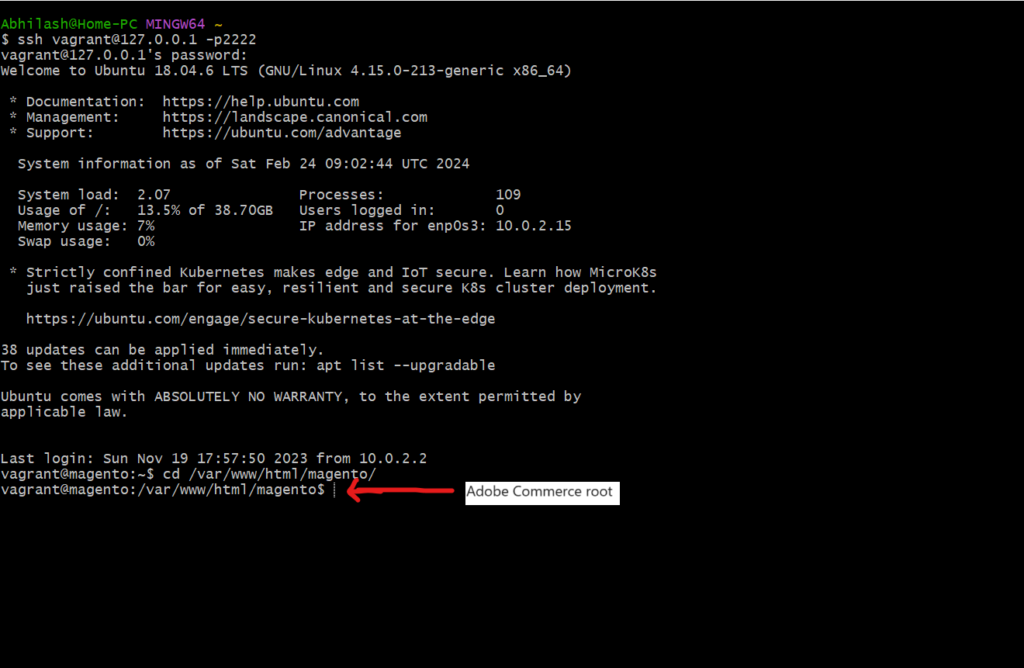
1 . Log in to VM using below command.
ssh [email protected] -p2222

2 . Remove using below command if you have RabbitMQ previously installed (optional)
sudo apt-get remove –auto-remove rabbitmq-server
sudo apt-get purge –auto-remove rabbitmq-server

3. Download the package information
sudo apt-get update -y

4. Install RabbitMQ server
sudo apt-get install rabbitmq-server -y –fix-missing

5. Setup management plugin
sudo rabbitmq-plugins enable rabbitmq_management

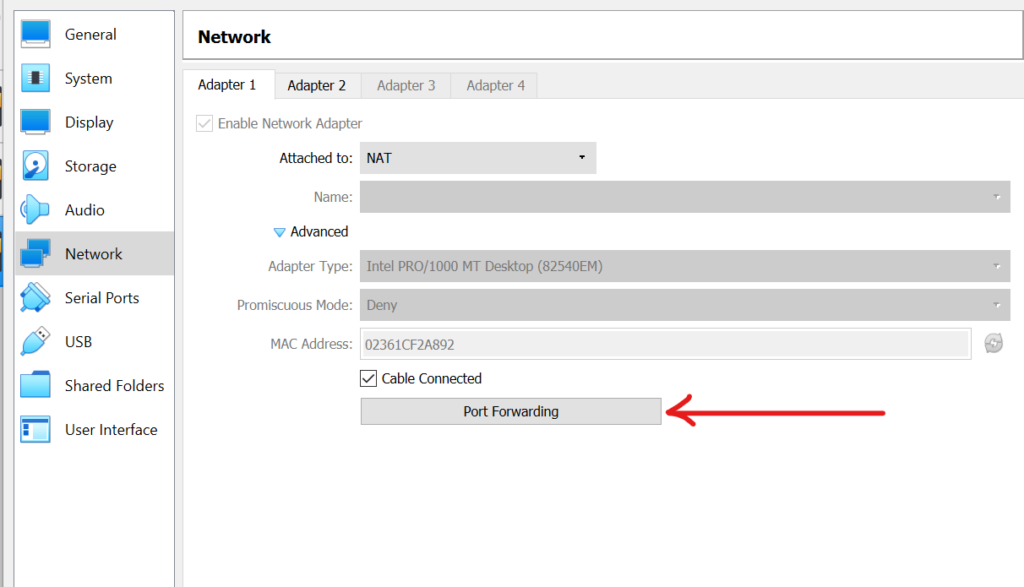
6. As we are using VM, we need to setup the port:
Right click on VM.
Go to settings –> Network –> Port forwarding


6 . Setup a desired port

7. Open RabbitMQ management URL
http://magento.local:442/#/
Login using default credentials: guest/guest

Please let me know in comments if you are able to setup.

Get a Magento Setup for Windows

In this blog post I will help you to use a readymade Magento 2 instance quickly using Oracle VM Virtualbox Manager. Suppose you have a Windows system and want to install and explore a Magento 2 instance. As we all know in Windows OS does not support Magento 2, you will need a Virtualbox to work with windows.

Below are the software to installed.

  1. Oracle VM Virtualbox
  2. Git bash to connect or SSH into Magento 2.

Steps:

1 . Install Oracle VM virtualbox

2. Download the OVA file from here.

3. Go to virtualbox file >> import appliance >> select the ova file as shown below & click import


4. Create host entry in windows
127.0.0.1 magento.local

5. Open http://magento.local:8080/ in browser. Admin URL http://magento.local:8080/admin/
Admin credential admin/admin123

6. To SSH open git bash
ssh [email protected] -p2222
password: vagrant

You will be able to login